Skip the museums to photograph some beautiful sea life at the Windansea tidepools. Isn’t the real version so much better?
This is an extremely family-friendly photo opportunity, so photographers traveling with kids will love this one!

I took these photos at Windansea, an easy to access beach area between La Jolla and Pacific Beach. But San Diego has several tidepool locations so you can use this information at almost any of them.
Windansea is a bit south of proper La Jolla which means it’s easier to park at and less crowded. It’s more of a surf spot than a tourist spot. Which makes it a hidden gem and one of the best La Jolla tidepools to visit.
The Best Time to Visit La Jolla Tide Pools
Tidepools are the little pools that can be found in the nooks and crannies of rocks at the shore. The best time to visit tide pools is always low tide. You want the ocean to pull out so that the little pools of water are full of life.
There are two high and two low tides every single day but you naturally want the ones that coincide with some daylight. The tides are always changing so you have to consult tide tables, which contain the time and height of the lowest and highest tides.
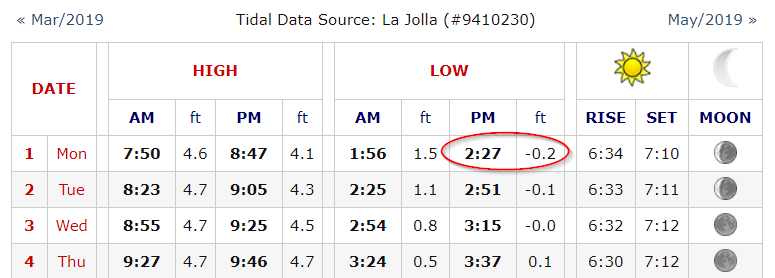
Like I mentioned, you want tides that are low. If the tide goes negative (like -0.2 ft) that’s the best scenario, but as long as it’s 1 ft or lower, that’s good enough.
Here is the best chart I could find for tides in La Jolla, CA which is pretty much where Windansea is. You want to find the date you plan to visit, and check the time and height of the low tide.
For e.g. below, on 1st April (no joke) the low tide at 2.27 PM is -0.2 ft, which is negative and that’s great. You should go about an hour earlier than that because the tide goes out over time, so you’ll have a good hour or more of low tide.
So check this chart by clicking on this link – US Harbors Tide Tables – and figure out when is a good time to go and you should be all set.
The Nitty Gritty
[table id=3 /]
Windansea Tidepools tips
First things first, you’re going to want to be barefoot, or have shoes that can get wet and hold a grip. The rocks can get slippery.
Also watch the ocean as you work, there’s these things called waves. I usually end up with soaked jeans, but thankfully manage to keep my camera safe.
Remember to bring a polarizer (I like this one). It can really help cut through the reflections in the water.
It was a super sunny day when I took these shots – occupational hazard of living in San Diego. So although I suggest cloudy days, there’s not a lot of those, so just go anyway!
The Star of The Show
As far as I’m concerned, that’s definitely the starfish, also called a Sea Star. Something about their adorable five fingered chubbiness just gets to me. And their color is so vibrant against the blues, purples and greens of the tide pools.
This location is one of the few places I’ve actually seen starfish, and I’ve visited various tidepools around California.
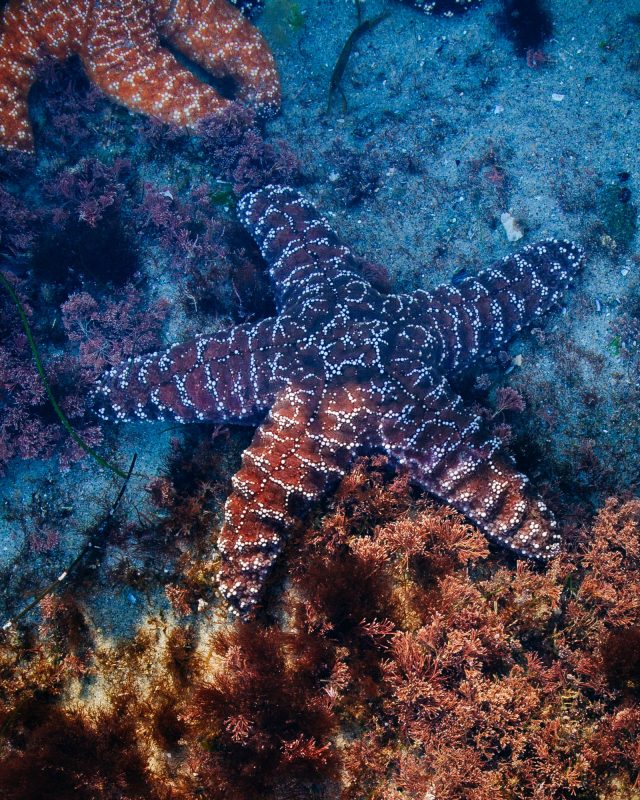
And here we have a nice group of starfish buddies. You can see they come in quite different shades ranging from orange to red to a deep eggplant or brown.
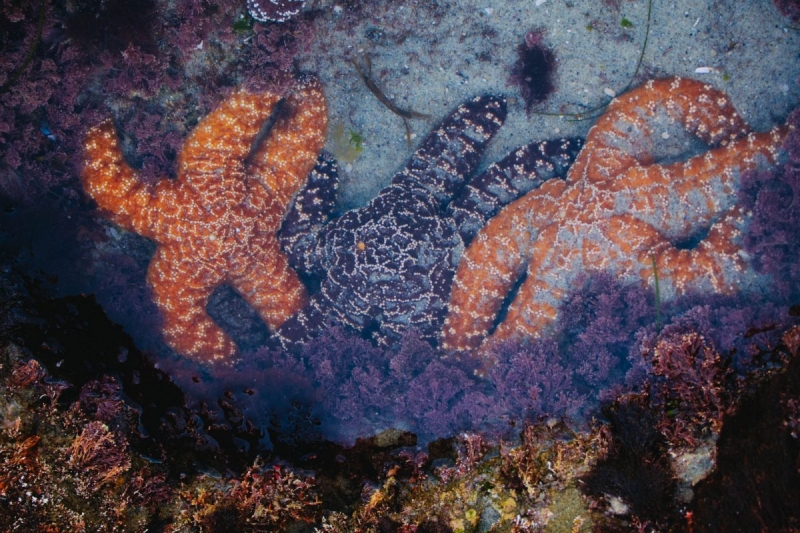
You really want to see through the water so you have to minimize reflections. You can do this with a polarizer but also with shade or shadow. If direct sunlight doesn’t hit your water, you’ll have a better chance of shooting the sealife clearly.
Make Friends With Your Anemones
Another popular little guy is the sea anemone. Sea anemones in San Diego are rather easy to find but still beautiful when you do. They react when touched so be very careful not to harm them.
Here, you can see that there are harsh shadows from the sun, which is why I suggest a cloudy day. But it’s still workable.
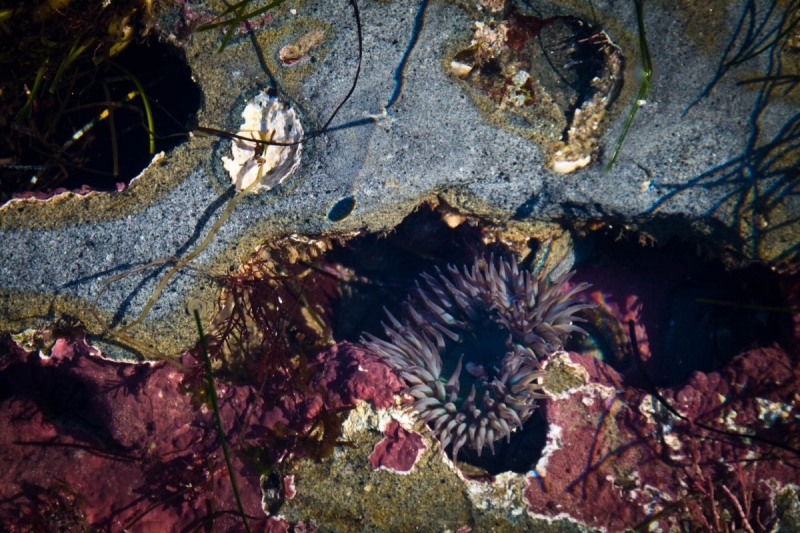
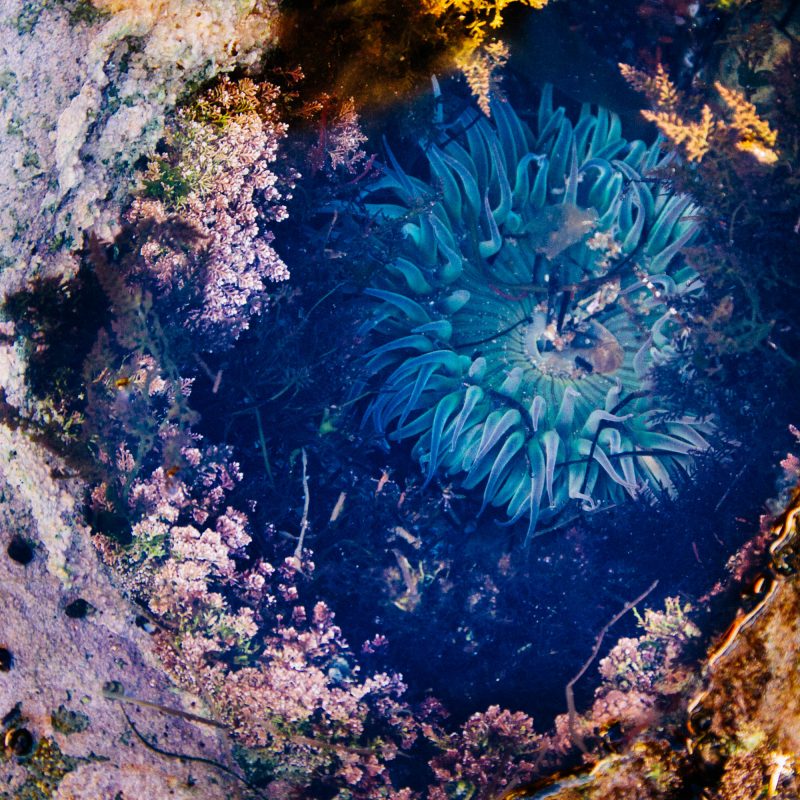
Look out for anemones that are under water where they stay open with beautiful pink or blue tentacles. Above water, they close up and are kinda ugly.
This is where that polarizer comes in handy. It can cut right through the reflections on the surface and let the true colors come through.
To learn more, read up on polarizers, one of the few filters you can’t fake in post-processing.
Take some time away from the creatures
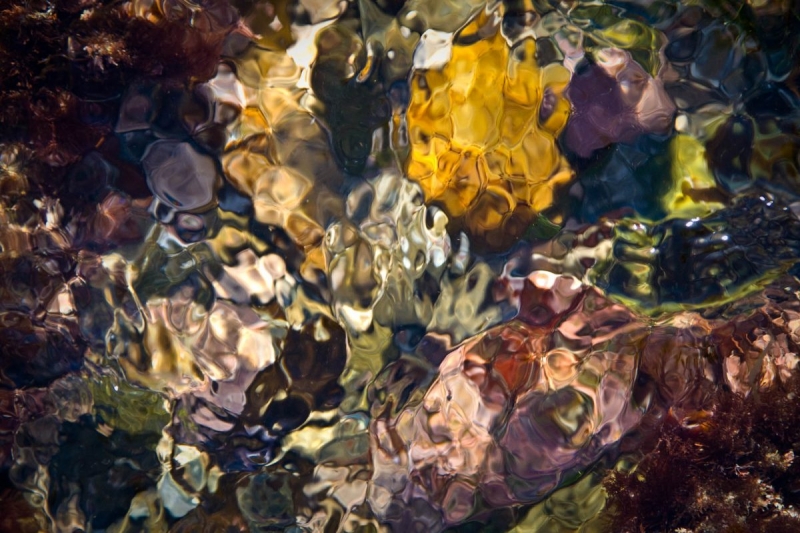
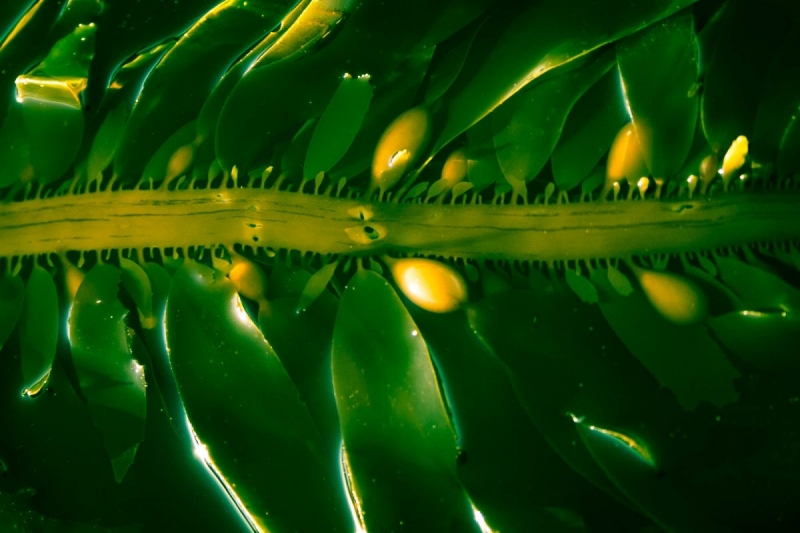
There’s more to see than the sealife. Shoot some images of the rich colors and striking patterns at tide pools. They could make for a great abstract print.
This set of rocks under water had such fluidity and beauty, I had to take a photo.
Insert Some Personality
Incorporate other elements, kids have a great sense of wonder which can be very contagious when captured right.
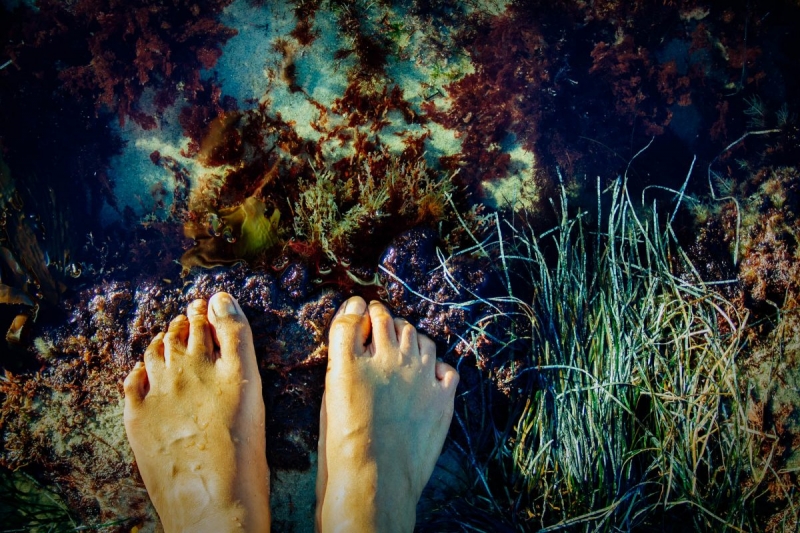
Since I don’t have kids, and my husband loves to hide from my camera, I incorporated my feet!
Putting people in the photograph gives the viewer a sense of scale.
With this point of view, it also puts the viewer in the scene, looking down into this underwater world.
This can be a nice technique to give a sense of scale to your photos. While I’m not a fan of selfies, I do appreciate how human elements add scale into photographs and make them more compelling.
Check Above Sea Level
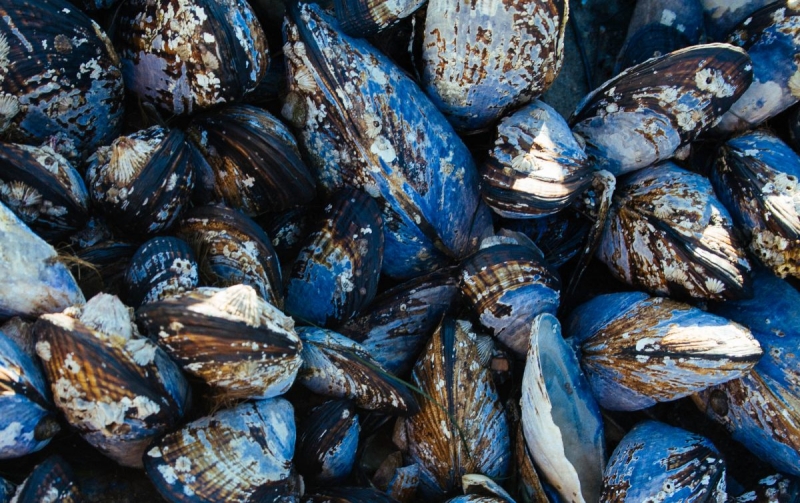
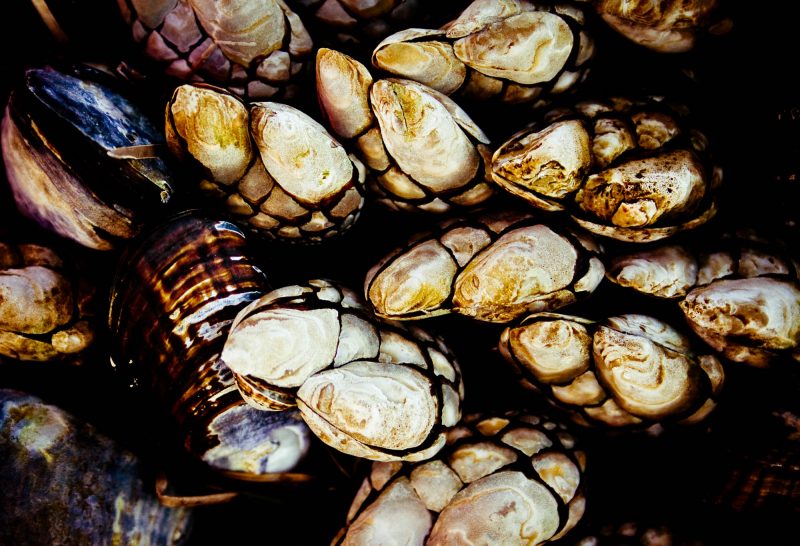
Finally, don’t forget to check above sea level for some interesting patterns of clams and mussels. Some of them have beautiful vibrant colors and interesting shapes.
I found the blue in these mussels captivating.
And I love the shape of these claw-like mussels as well as the inky black markings on them. Not sure what they’re called?
Better Than A Museum?
I think this is better than a museum of course, so do check out the Windansea tide pools if you have a chance. If the tides don’t favor you, check out the sealife at Birch Aquarium instead.
This post has affiliate links. As an Amazon Associate I earn from qualifying purchases. The opinions presented are my own.
