I often get asked what’s in my camera bag or basically what I think the best travel photography gear is if you want to travel light. Well relatively.
So I decided to distill that info into a post so I can easily send people here when I get that question again. Included are my favorite travel photography lenses as well as accessories.
So what gear do I take on my photo trips? Let’s dive in!
Travel Photography Gear Essentials
To start with, here’s my philosophy of travel photography – simplicity and versatility.
Simplicity and Versatility of your gear is the key to great travel photography
When I’m out and about, I really want to explore my surroundings and keep my eyes open. I don’t want to futz around with swapping out lenses every 10 feet.
So if I’m using my DSLR, I only carry one or two lenses. If I’m feeling lazy, I’ll just carry a point and shoot.
Depending on your personal situation, the right camera for you might be your phone if that’s the camera you’ll actually carry.
But if you want the best shots, it helps to bring the camera that lets you control the image and exposure to the best of your abilities.
When I use my phone, I always find myself irritated by not being able to adequately control exposure and focus. So when I I pack my travel photography gear, I do like to take my DSLR, even if I won’t use it everyday.
I don’t want a huge bag filled with tons of stuff that I have to worry about and barely use, so I only the one walkaround lens and one specialty lens.
This list won’t detail every possible combination you can take, but covers what works for me. This is the essential equipment I take on every trip.
Cameras
As I mentioned I take my DSLR for travel photography, but I like to have a P&S to carry daily, something small that fits in my purse.
So I’ll cover both options.
Best Point and Shoot Travel Camera:
Canon PowerShot G7x Mark III
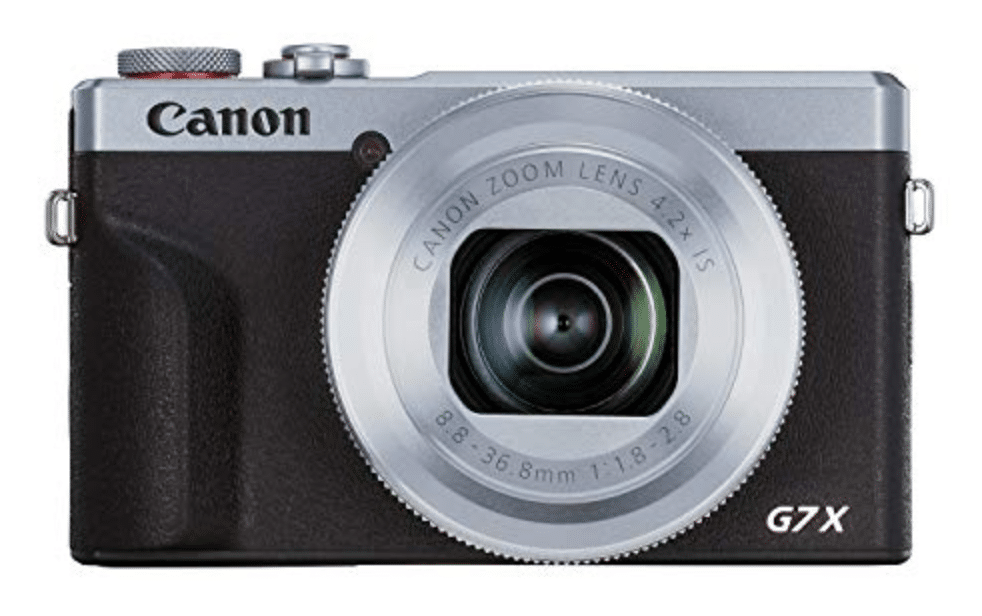
This camera just is so good, it’s sometimes better than my actual mirrorless camera.
It’s a point and shoot with full manual control and a 1 inch sensor. The zoom range is 24-100mm and the aperture is 1.8 to 2.8 across that range! That means great low-light photos even if you have to zoom in!
In addition, the Canon G7x mark III has all the neat perks you can hope for in a camera you plan to travel with:
- Bluetooth and Wifi to transfer the photos to your camera.
- Tilting screen for those awkward angles and sexy selfies
- Integrated ND filter to get some of that sweet f/1.8 bokeh in the daytime
- Four dials on device for fast control of the settings you need
- 4K and Raw support for the best possible source images
- Battery charges in-camera so if you forget your charger, you can use any micro-USB cable
I know that mirrorless cameras are very popular now and bridge the gap between point and shoot and DSLR. But they are often not small enough to carry all the time.
If you want a small pocketable camera that’s there when you need it, the Canon G7x has you covered.
Mirrorless For Full Control: Panasonic GX85
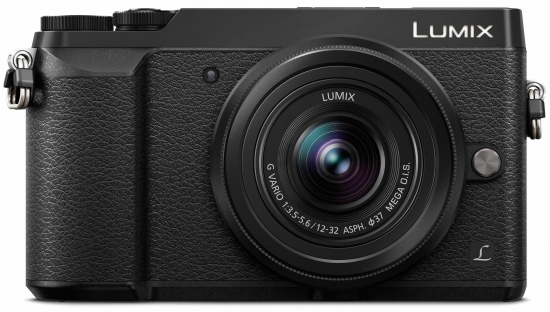
When I first bought this, I still had my Canon DSLR and doubted this would be a substitute. Turns out it was so good, I ditched the DSLR 3 months later. This camera is so tiny you could possibly pocket it, or at least pop it into your purse.
And yet it has the capacity to transform when you need it to. Add on the lens you need and it goes from night-on-the-town size to day-trip-photoshoot size.
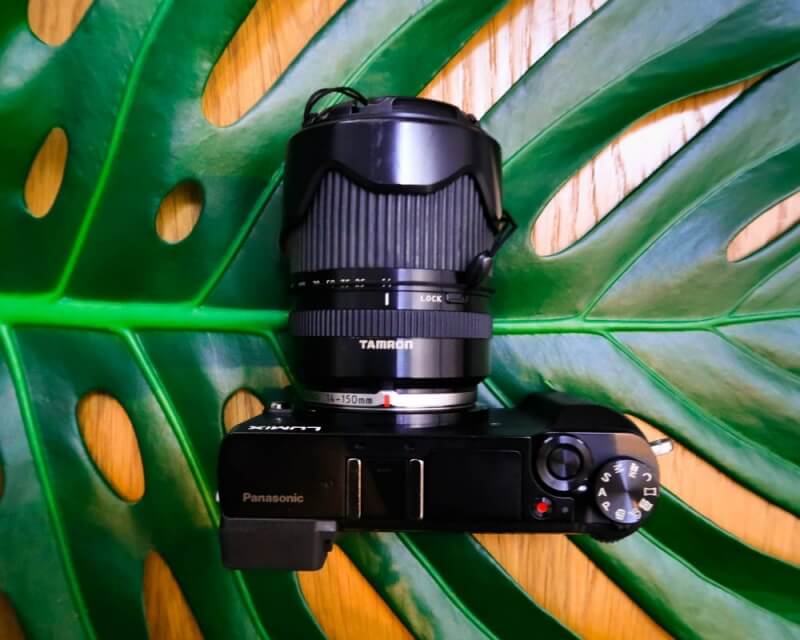
This is a micro four thirds camera and if you haven’t heard of them, it is a standardized format for lenses that allows you to pick from Olympus and Panasonic’s lineup of cameras and lenses interchangeably. Imagine that, competition! This means there’s a vast set of lenses at great prices available to you.
These two cameras are covered in my article detailing my thought process on how I selected them.
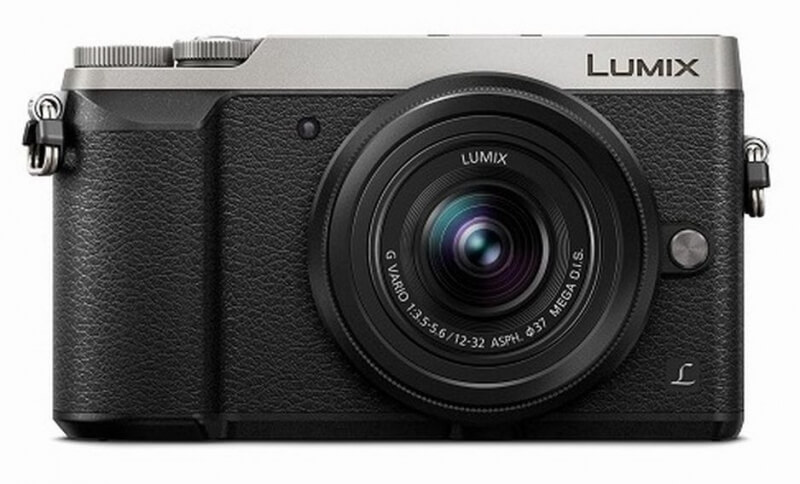
Best Cameras for Travel Photography
Don’t miss out on capturing the vast landscapes. I recommend these two travel cameras that are perfect for your adventures.
Lenses
I like to use a versatile zoom as my daily lens. When traveling, I don’t have the space to take a whole collection of lenses and more importantly, I enjoy the spontaneity of taking the shot as the moment happens.
And anyway, I don’t want to be changing my lenses all day long.
So, along with my main “walkaround” lens, I usually pick ONE complementary lens to take per trip. Which one depends a lot on the trip.
If I expect sweeping landscapes, I go with the ultra-wide. If I think I might shoot the milky way, a fast prime is the way to go.
I’ll also describe to you each of my specialty lenses and what they are good for.
But first things first, the walkaround lens.
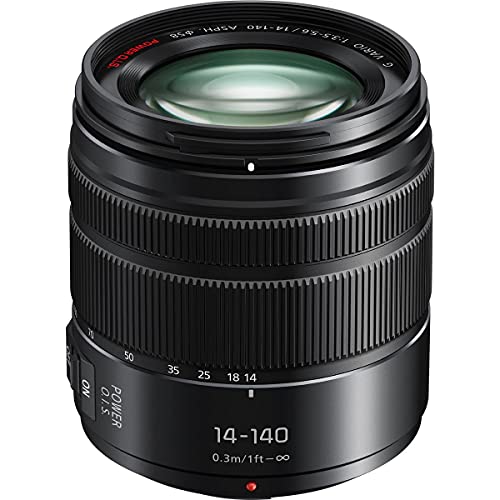
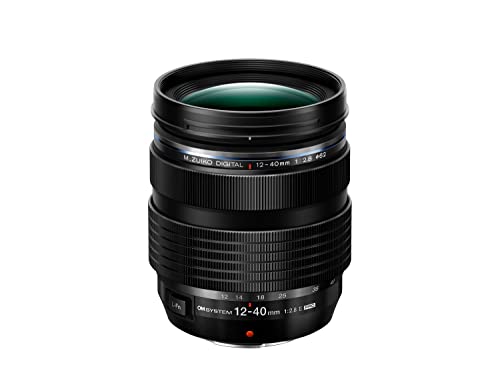
Versatile Walkaround Lens: Panasonic Lumix G Vario 14-140mm f/3.5-5.6
Buy Panasonic Lumix G Vario 14-140mm now
It’s a great all-round lens. Nice sharpness, image stabilization, although definitely not the fastest.
The range on this lens is fantastic – you’ll never take it off. You can shoot a wide landscape or zoom in to get more personal.
Since this isn’t the fastest lens though, I’ll link my article with more options below. There’s one that’s plenty fast.
Best Micro Four Thirds Lenses for Travel
Check out this article if you’re looking to get the best micro four thirds lenses for travel photography. These are the most versatile, budget-friendly and portable lenses.
Accessories
Spare Batteries
It’s always a good idea to carry backups for some essentials. You just never know when a battery is going to die on you.
I’m terribly forgetful so I actually need to put these on my packing list or I WILL forget.
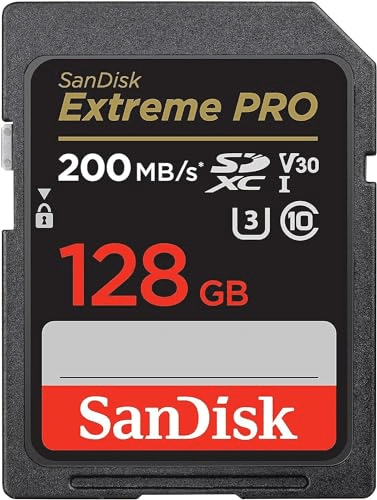
SD cards are a really important part of the equation. Should you buy one huge one? Or lots of little ones?
I’m in the lots of little ones (32GB these days) camp. Because it’s safer to spread the risk over several cards.
What do I mean by that? Well, if you accidentally corrupt or lose the one card you have, all the shots from your vacation are lost.
But if you have smaller cards you can spread that risk across the cards. If someone steals your camera, hopefully you’ve lost just some of your shots.
You can also stash away the filled cards somewhere extra-safe like your passport case.
These Sandisk Ultra cards are excellent, Class 10.
They ensure that my camera can shoot as fast as it’s rated for without slowing down to write to card.
Spare Batteries
One time I went to Mexico and on the first day my charger died. I spent the next few days of the trip seeking out a charger for my batteries. No dice!
Luckily I found a shop that would charge the batteries I had. I was so thankful that I had taken 3 batteries with me and got them all charged up.
Had to be a bit stingy with shooting but sometimes that can be a good constraint! Plan your shot.
Spare batteries can save your trip, what’s a few dollars compared to the cost of that flight? Definitely an important part of any essential travel photography gear list.
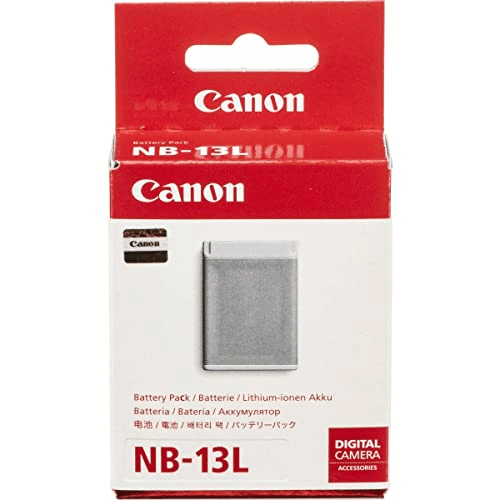
Buy Canon Battery Pack NB-13L Now
The G7x is awesome but the one con is – the number of shots on one battery is a bit low.
So you need another battery. You just do.
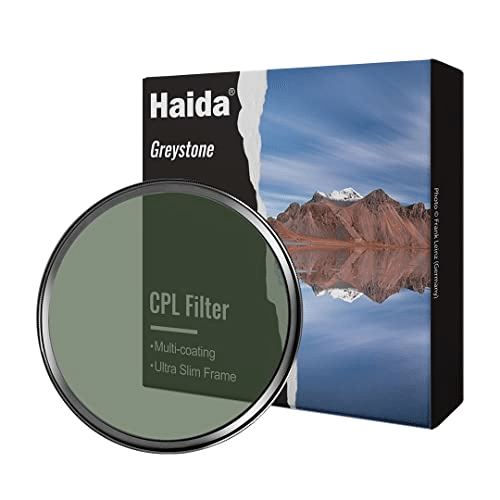
Circular Polarizer: Haida Greystone CPL
This is an optional addition – but very useful to carry and doesn’t add much to the weight or bulk of your bag.
Polarizers improve the quality of your image on a sunny day by reducing reflections. Of course, you don’t want it on all the time, as it lowers the light captures by 1.3 stops in this case.
Buy Haida Greystone CPL Filter Now
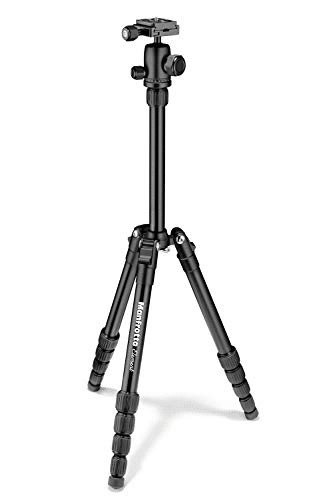
Travel Tripod: Manfrotto Element Traveller Tripod
The general recommendation is to buy the best tripod you can afford, since they are long-lasting pieces of equipment. But depending on your style of photography, you may want to spend on other things. I’ve been able to get milky way shots with cheapo tripods, so I think it’s ok to upgrade as you go.
This tripod won’t break the bank but is compact, very well made and does the job.
Buy Manfrotto Element Traveller Now
I do have more options if you are looking to learn more about the different features.

Need a tripod for the trip?
If you want to capture the city at night or even the stars, check out these affordable tripods that are compact enough to travel in your carryon luggage!
Travel Camera Bag
So in addition to what’s in your camera bag, it also matters what camera bag works for you.
Every trip and photog is different so I have a couple of recommendations here.
Some of the things you want to think about selecting a bag are design, weight, and style.
By design I mean how usable it is, how are the compartments organized and accessed, does it allow you to carry souvenirs or a laptop – the user interface design of the bag.
[easyazon_link identifier=”B00J938IWG” locale=”US” tag=”sidecarphoto-20″]Lowepro Passport Sling III[/easyazon_link]
[easyazon_image align=”left” height=”155″ identifier=”B00J938IWG” locale=”US” src=”https://www.sidecarphoto.co/wp-content/uploads/2017/02/51HQGy33cqL.SL160.jpg” tag=”sidecarphoto-20″ width=”160″]This is my go-to bag these days because it looks good and has space for a bottle of water, wallet, phone and any small purchases you might make.
It looks quite nice on both men and women – my husband carries it for me often with no complaints – and doesn’t scream camera bag.
[easyazon_link identifier=”B00J938IWG” locale=”US” tag=”sidecarphoto-20″]Check Price[/easyazon_link]
I do find that for a long hike, having all the weight on one shoulder is a bit tiring for me.
[easyazon_link identifier=”B015RA4S78″ locale=”US” tag=”sidecarphoto-20″]Manfrotto Street Backpack[/easyazon_link]
[easyazon_image align=”left” height=”160″ identifier=”B015RA4S78″ locale=”US” src=”https://www.sidecarphoto.co/wp-content/uploads/2017/02/51narUc8HVL.SL160.jpg” tag=”sidecarphoto-20″ width=”129″]Having the weight spread across both shoulders makes a huge difference. This travel camera backpack is useful for both travel and shooting.
I gotta be honest here – I actually have a Kata bag I bought like eight years ago. It’s a relatively unheard-of company but I love the details in the bag.
It has separate compartments for day stuff and a laptop, easy access to the gear without taking the backpack off, and external loops for your tripod.
I would link to that one but as it turns out – Kata got bought by Manfrotto and are now putting their excellent features into Manfrotto’s lineup.
This [easyazon_link identifier=”B015RA4S78″ locale=”US” tag=”sidecarphoto-20″]Manfrotto Street Backpack[/easyazon_link] has all the good stuff I just mentioned, can be converted into a regular backpack, and has a stylish, urban look.
Seriously awesome.
[easyazon_link identifier=”B015RA4S78″ locale=”US” tag=”sidecarphoto-20″]Check Price[/easyazon_link]
[easyazon_link identifier=”B00KT7GJGS” locale=”US” tag=”sidecarphoto-20″]BYOB 9 Camera Insert[/easyazon_link]
[easyazon_image align=”left” height=”134″ identifier=”B00KT7GJGS” locale=”US” src=”https://www.sidecarphoto.co/wp-content/uploads/2017/02/41LeyRPE2L.SL160-1.jpg” tag=”sidecarphoto-20″ width=”160″]Finally one pro-tip! A camera insert is a great way to turn the bags you have already into a camera bag.
You can take this insert and put it into any purse or backpack and immediately have a camera bag for the occasion.
I do this if I want to take my DSLR to say, a wedding where I’m a guest. Put it in a medium-sized purse and I’m good to go with a stylish camera bag.
Be sure to get the size that works! I recommend [easyazon_link identifier=”B00KT7GJGS” locale=”US” tag=”sidecarphoto-20″]BYOB 9[/easyazon_link] which should fit a DSLR with lens and one extra lens. Size up or down if you prefer to carry a lot more or less.
[easyazon_link identifier=”B00KT7GJGS” locale=”US” tag=”sidecarphoto-20″]Check Price[/easyazon_link]
Pack Your Bag!
So that’s the gear I would recommend today. You don’t have to carry a ton of stuff – just understand how to use all your gear and you should be good.
My final recommendation is to make a packing list! That way, when you’re packing to go, you won’t forget any must-have gear.
Do you see something I am missing? Let me know!
This post has affiliate links. As an Amazon Associate I earn from qualifying purchases. The opinions presented are my own.
